


How to connect the outdoor optical cable to the machine room with the pre-terminated connector?
Outdoor optical cable to the machine room usually needs to be connected through a pre-terminated connector.
Here are some general steps:
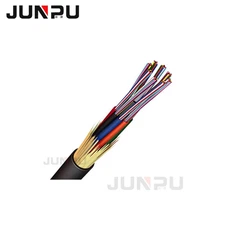
- Confirm the type and specification of the optical cable, as well as the type and specification of the pre-terminated connector.
- Use a professional stripper to strip the protective layer of the outer sheath of the optical cable to expose the bare optical fiber.
- Clean the bare optical fiber to ensure that the surface is clean and oil-free.
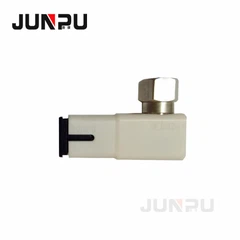
- According to the instructions of the pre-terminated connector, insert the optical fiber in the optical cable into the pre-terminated connector. Usually, a professional optical fiber stripper is required to complete this step.
- Confirm that the connection between the optical fiber and the pre-terminated connector is firm and secure it with appropriate tools.
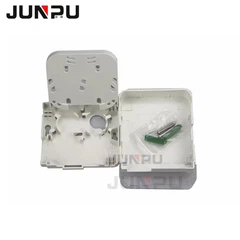
- Install the pre-terminated connector protective cover or housing to protect the connection.
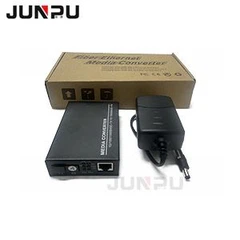
- If you need to connect to other devices or terminals, you can use an appropriate connector or optical fiber cable to connect the pre-terminated connector to the target device.
- When performing these steps, you need to comply with the relevant specifications and standards for fiber optic connections to ensure the quality and stability of the connection. If you do not have relevant experience or skills, please consult a professional technician or engineer for operation.

How to connect outdoor optical cables to high-density distribution frames?
There are several steps to connect outdoor optical cables to high-density distribution frames:
Prepare tools and materials: You need to prepare optical fiber connectors, optical cable stripping knives, optical fiber fusion splicers, optical cable clamps, cleaning supplies, etc.
Determine the access position of the optical cable: According to the actual situation, determine the access position and number of optical cables on the high-density distribution frame, and clean the interface.
Strip the protective layer of the optical cable: Use an optical cable stripping knife to strip the protective layer of the optical cable according to the required length, and clean the exposed optical fiber.
Fix the optical cable: Insert the optical cable into the optical cable clamp and fix the optical cable with the clamp to ensure that the optical fiber is not stretched or damaged.
Connect the optical fiber connector: Insert the optical fiber connector into the optical fiber fusion splicer for fusion splicing. After the fusion is completed, wipe the surface of the connector with a cleaning cotton swab to ensure that the surface is clean.
Install the fiber optic connector: Insert the connected fiber optic connector into the corresponding interface on the high-density patch panel.
Test: Use test equipment such as an optical power meter to test the connection to ensure that the connection quality meets the requirements.
The above are the steps for connecting the outdoor optical cable to the high-density patch panel. It should be noted that you should be extra careful during the operation to avoid damaging the optical fiber and connector. If you are not familiar with the operation, it is recommended to ask a professional to install and debug.